Pages

Sunday, April 15, 2012

Happy Birthday Baby: The Tale of the Cake Explosion

DSC01126

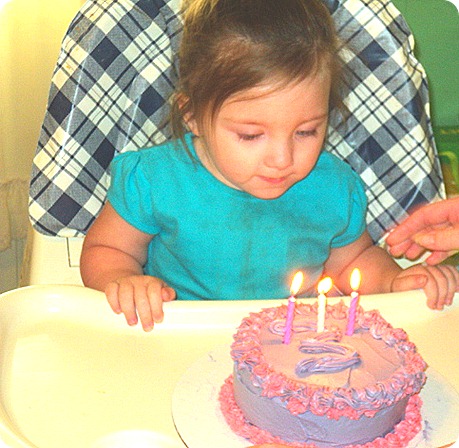
For my niece’s third birthday I volunteered to bake her cake. My cousin requested that I make two cakes, a large one for everyone to eat and a small one for K-Lynn (name shortened to protect the cute and adorable). Easy task? I sure thought so. My kitchen looked like a pastel bomb exploded, and I was covered in mad amounts of frosting when all was said and done. My cousin and her fiancĂ© were thrilled and impress, but the perfectionist in me died a little working in it.

The cake itself was simple. My cousin asked for white cake, and I decided to jazz it up with some color. The original plan was pink and purple cake with a light blue frosting and pink trim, but when the cake didn’t turn out very purple, I let it stay more blue and went with purple frosting. Using two boxes of Duncan Hines White Cake mix, prepared as directed, I dyed one half pink and one half a light purple/blue. I marbled the cake batter and made two 9 in layers, and one 6 in cake (to be the birthday girl’s special cake).

Next came what I am calling the Great Cake Explosion, although really it should probably be known has the Great Frosting Explosion. Armed with disposable pastry bags, my decorating tips, and two couplers, I embarked on my first ever attempt at cake decorating. I really need more tools because honestly this was huge mess that took hours to clean up later. Ok, so hours is an exaggeration but it really was a huge mess. Using three cans of Duncan Hines Creamy Vanilla Frosting, I dyed some of purple, thinned it with a little milk, and used it to ice both cakes. I really need an actual angled spatula, but it didn’t turn out too bad for a first try, Next I dyed some of the frosting pink and attempt to pipe shells around the bottoms of both cakes and stars around the top edges of both cakes. I discovered later that I should have used twist ties to hold the tops of the bags shut and that my icing was beginning to thin. I ran short of pink half way through K-Lynn’s cake and had to add purple to the bag. The problem was that while I got a really cool tie-dye effect my icing was too thin and some of it ran.

Lessons learned:

  • Angled Spatulas are a must for icing cakes.
  • Always make sure to tie the pastry bags closed properly so that you can hold them.
  • Mixing thinned icing with stiffer icing will cause your trim to run.
  • I really need more tools—decorating tips, pastry bags, silicone spatulas, twist ties
  • Making your own buttercream icing is the wise move.
Friday, March 30, 2012

Dusted Chocolate Stars

I am terrible. Can you ever forgive me? Is anyone out there even reading my randomly updated blog?

I had such high hopes for this blog, and here I am with no updates and barely any cooking. Those of you who have read a post or two know that I am in the awkward position of running a food and cooking blog with no money; when I started this I had planned to cook and bake and experiment, but then our kitchen (since I am still at home with my parentals) took much longer to finish. The kitchen is still unfinished, which is sad because it’s been over a year, and money has been tight. So blogging is difficult.

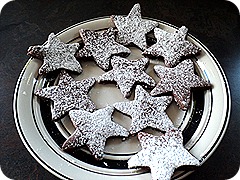
I have many weaknesses, one of which is chocolate. My love affair with chocolate is absolutely ridiculous, and it is second only to my passion for caramel and candies. I also love to experiment, and my life, while unemployed and working on getting back into school, often revolves around digging around for recipes and trying new things. So when I came across this chocolate cookie recipe on Bake at 350, I couldn’t resist. Chocolate cut out cookies? Yes please. The recipe calls for a cocoa frosting, but I’m not big on frosting like that on my cookies, so I decided to dust my cookies with a light dusting of powdered sugar. I also modified it by splashing it a bit of vanilla extract to balance the strong taste of the cocoa.

Over all, they are good cookies, though to me they taste more like brownies than cookies. They aren’t quite my style, but it was work a shot. I bet they would be fabulous with a scoop of vanilla ice cream between two of them. Anyway, onward to baking and really bad food photography.

DSC01029  DSC01030
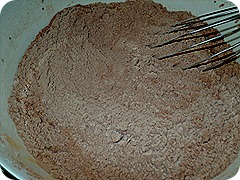
Blend together flour, salt, baking powder, and cocoa

DSC01034   DSC01032 DSC01035
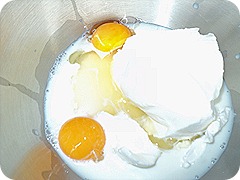
This ladies and gentlemen is my ancient but trusty stand mixer. It may not be pretty, but it knows what it’s doing. Here I blended together the sugar, eggs, shortening, and milk, along with a splash of vanilla.

DSC01036
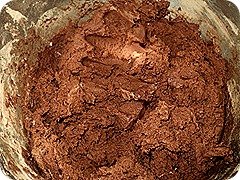
Here’s part of why it got messy for me. Mixing the dry ingredients into the wet, I switched from my paddle attachment to my dough hook. It makes a world of difference if you ask me.

DSC01038   DSC01039
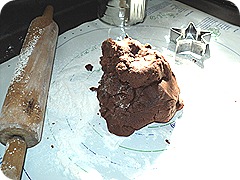
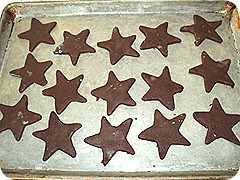
After the dough was chilled for two hours I rolled it out and cut it into stars. The recipe pictures were scalloped circles, but I don’t even have a circle cutter unless you count my biscuit cutter. And let’s try to ignore my ugly cookie sheet, huh?

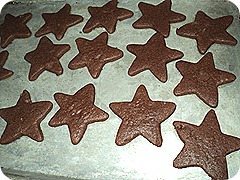
DSC01041   DSC01042
Baked at 375 for eight minutes, and once they were cooled I removed them from the cookie sheet and onto waxed paper and dusted them with powdered sugar.

Recipe for Rolled Cocoa Stars

3 cups all-purpose flour
1 cup unsweetened cocoa powder
1 tablespoon baking powder
1/2 teaspoon salt
2 cups sugar
1 cup shortening
2 eggs
1/4 cup milk
1/2 tablespoon vanilla extract

  • Combine flour, baking powder, salt, and cocoa
  • Blend sugar, shortening, eggs, milk, and vanilla
  • Gradually add in cocoa mixture until all is blended in.
  • Chill dough for two hours
  • Roll out and cut into shapes
  • Bake at 375 for 8 minutes, cookies will still be soft to the touch